Background
If you don’t know what Filestash is it is an open source application that lets you explore multiple types of file storage (S3, FTP, Backblaze, Google Drive, etc.) in a unified manner, on your own server. If you want to see a demo of it running click here. In this tutorial I will be installing Filestash using CyberPanel, a web hosting control panel that makes running website on an OpenLiteSpeed webserver much more simple.
Install
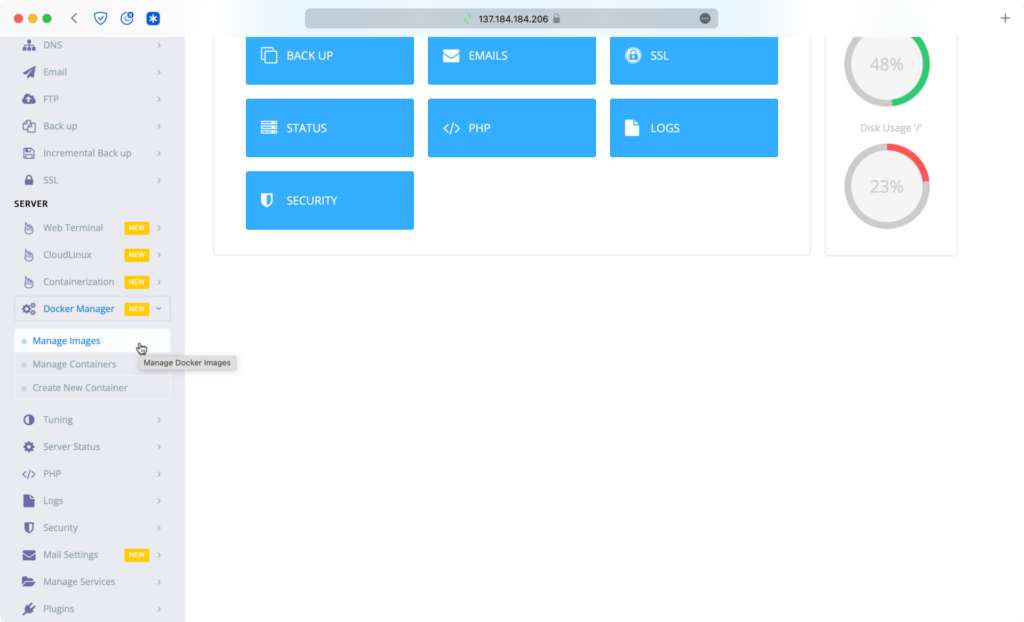
- Login to CyberPanel and select “Manage Images” under “Docker Manager” on the sidebarl.
- Install Docker if not already installed. Note that this may take several minutes.
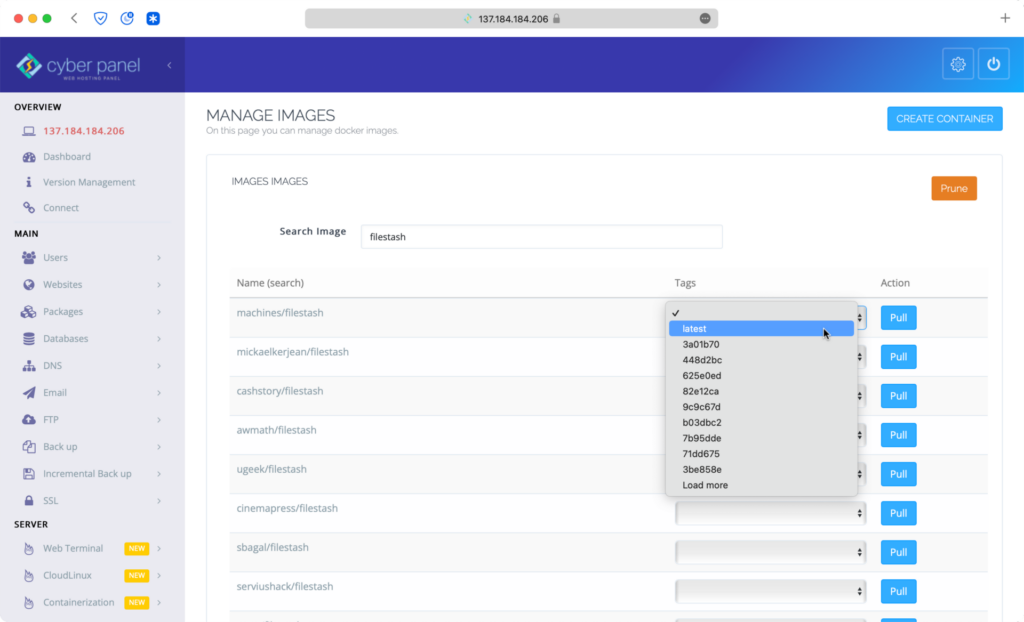
- Search for “Filestash. Choose “machines/filestash” image, select the “latest” tag, and finally, click “pull.”
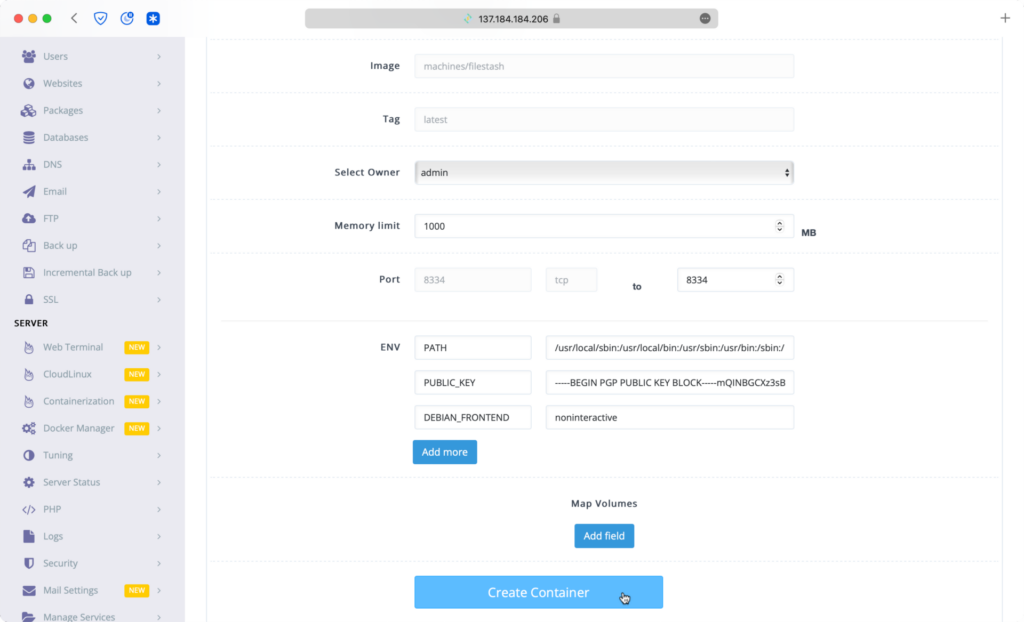
- Click “Create Container.”
- Then, select “latest” and click “Create.”
- Select an “owner,” a “memory limit,” and set “port” to 8334. Then create the container.
- Click on settings and check “Start on reboot,” then save.
- Start the application.
- Now by going to “ipaddress:8334” you can setup Filestash by setting a password.
Optional: Set a Custom Domain
- In Filestash settings change the “host” to your desried domain. Note: Make sure your domain’s DNS is pointing to your server.
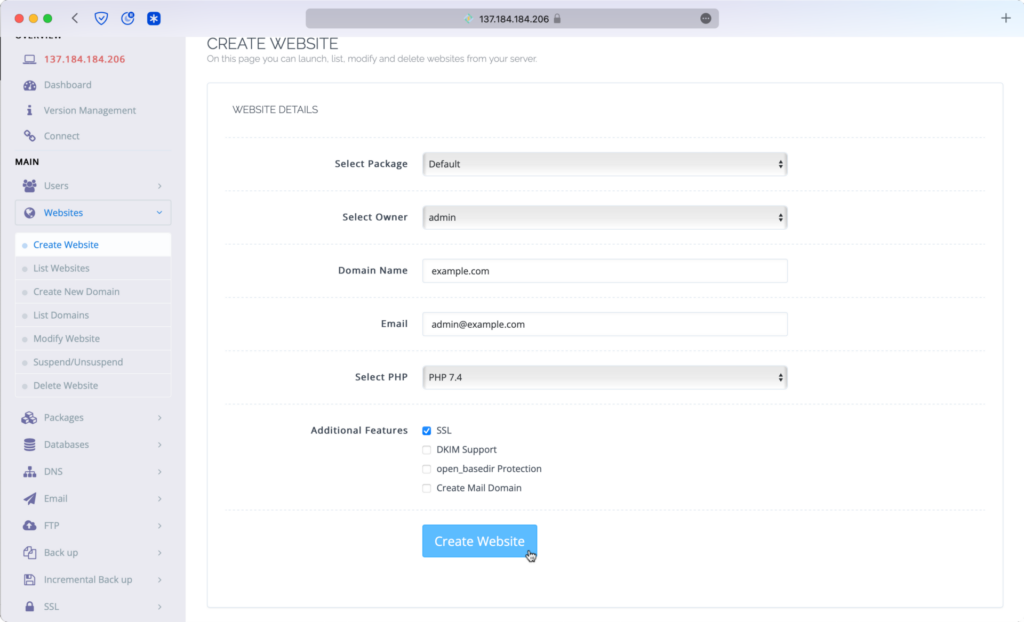
- In CyberPanel create a website for your domain.
- In commandline login into your server and edit “/usr/local/lsws/conf/httpd_config.conf.” One way to do this is with the following line of code:
sudo nano /usr/local/lsws/conf/httpd_config.conf- Near the bottom of the file, underneath your domain name, add the following block of code.
extprocessor dockerbackend {
  type                    proxy
  address                 127.0.0.1:8334
  maxConns                100
  pcKeepAliveTimeout      60
  initTimeout             60
  retryTimeout            0
  respBuffer              0
}
- Return to CyberPanel and select “Manage” on your domain.
- Scroll down to “Rewrite Rules” and paste the following code:
RewriteCond %{HTTPS} !=on
RewriteRule ^ https://%{HTTP_HOST}%{REQUEST_URI} [L,R=301]
REWRITERULE ^(.*)$ http://dockerbackend/$1 [P]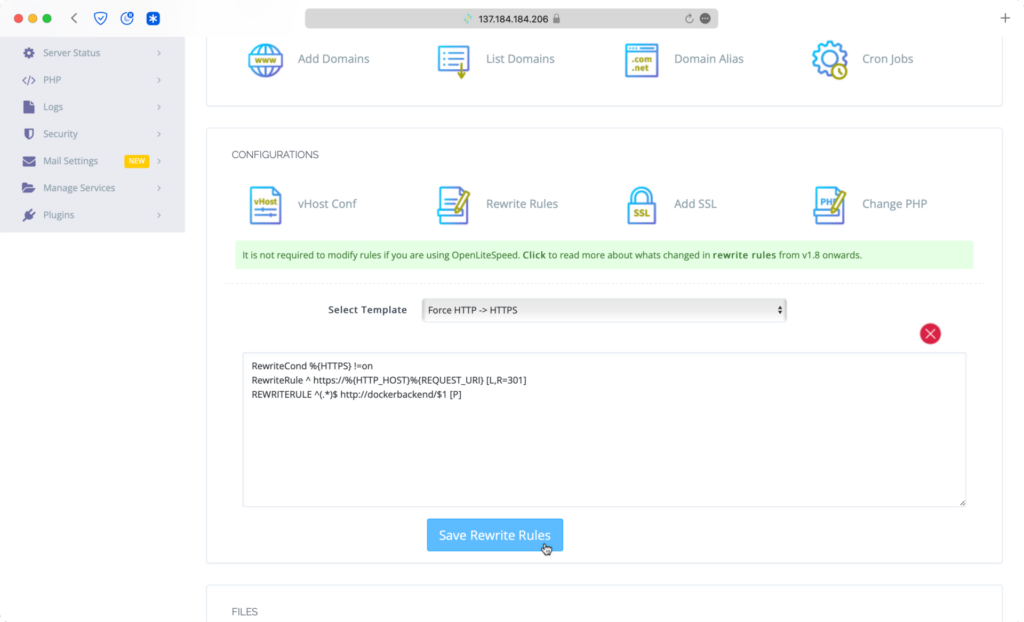
You can now visit your filestash install by typing in your selected domain.
Leave a Reply